Need help with resoling? Contact us
Preparation
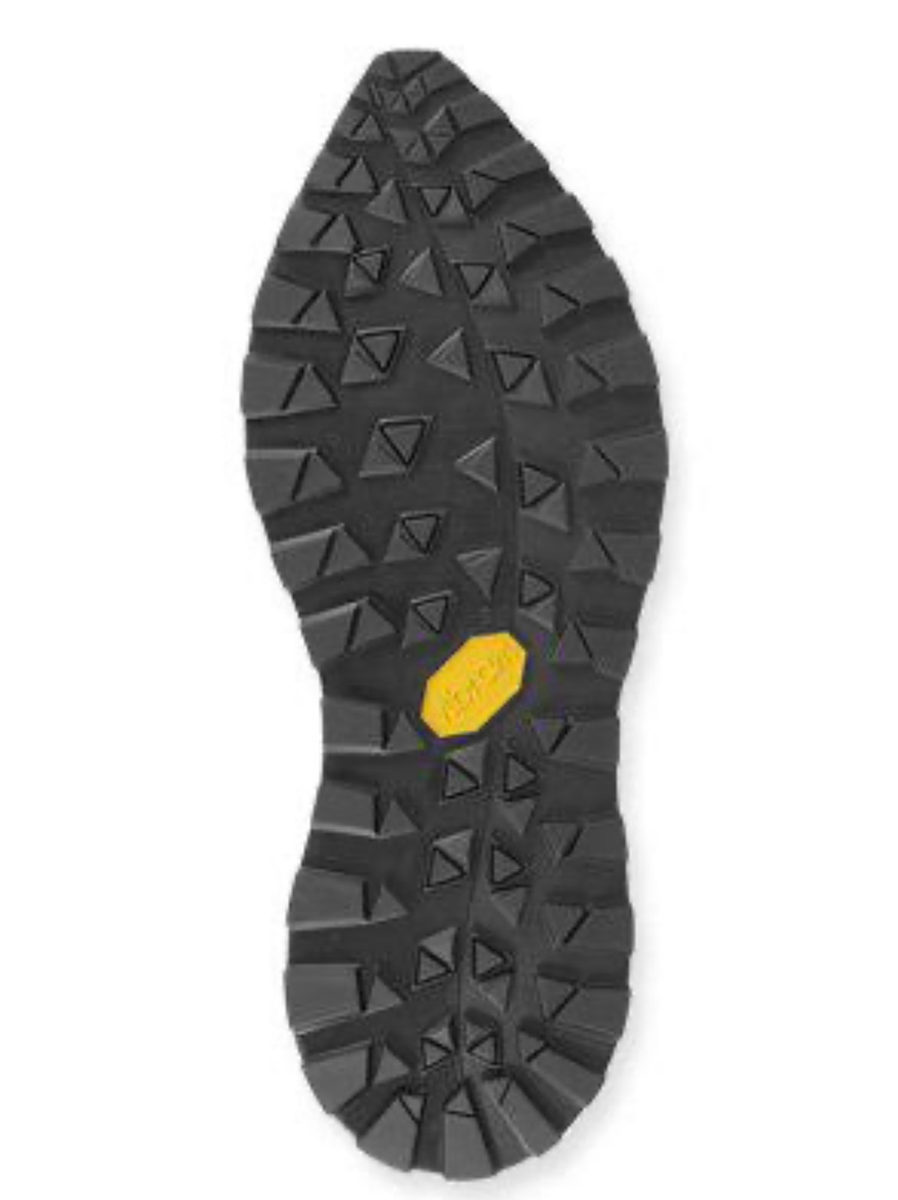
Find a sole that meets your needs. There are not so many options when it comes to trail running soles with good grip that are available for retail customers like us. If you need light and superior grip there is basically one choice: Vibram Zegama sole. If you can compromise on grip there is a good alternative: Vibram Claw sheets.
Make sure you have all the tools:
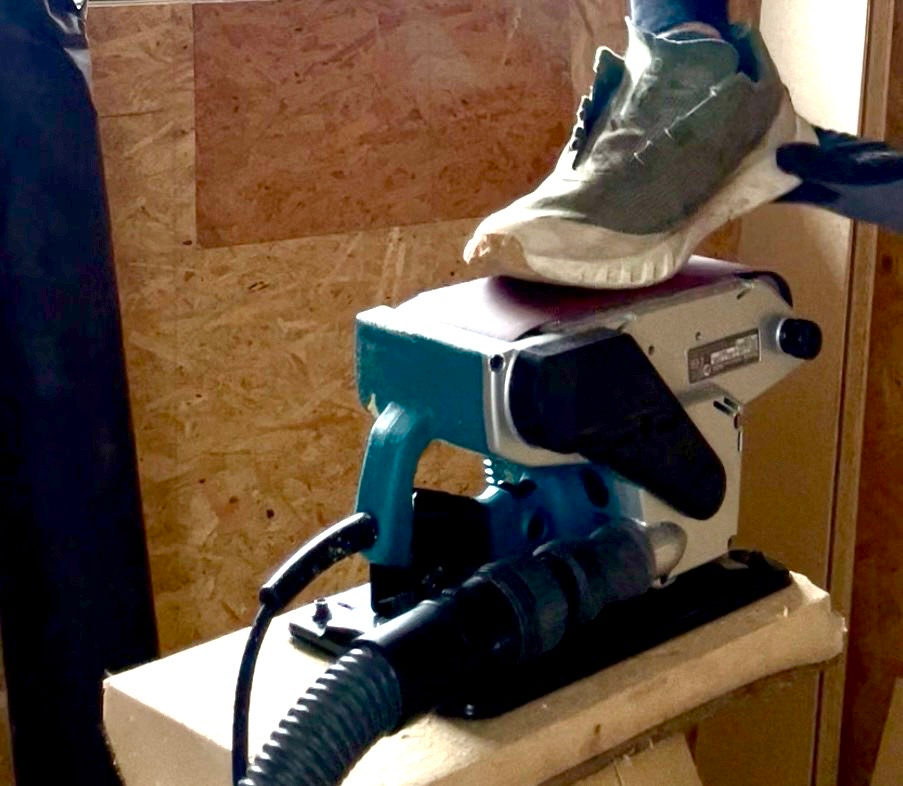
- belt sanding machine – it is doable without the machine if you have a whole day
- acetone – to clean the surface before glue application
- specialized glue for soles (there are smaller options in tubes)
- DIY shoe last – you need it to be able to hammer the sole properly into the shoe to create a good bond. You need to apply a rubber band around the shoe. Take a look at the picture below and notice that it is made of 3 parts. It's important to have a “step” so the bigger part of the front part of the last rests on a wooden block so that it creates support when hammering down.
- rubber or wooden hammer
- rubber bands for training or old bike wheel tubes
- mask – make sure you protect yourself from harmful rubber particles while sanding as well as the vapour of chemicals – open windows or work outside
Step by step
- Insert the shoe last into your shoe.
- Sanding – remove studs to achieve a flat surface – it takes time, rubber is not an easy material to sand.
- Roughen the surface of the new sole with sand paper 80–120.
- Clean surfaces with acetone, let it evaporate.
- Apply glue with a brush on both surfaces.
- Wait 5–10 min until the surface is not sticky.
- Activate both surfaces with a heat gun.
- Carefully apply the new sole – you can't readjust once the glue is activated.
- Hammer the entire sole pretty hard (with the shoe last inside).
- Activate with the heat gun the front part of the sole that wraps around the toes (like Vibram Zegama) and other parts that are not possible to hammer.
- Wrap around with the rubber bands – start with one toe-to-heel and then around the side and keep it on for a few tens of minutes. You need 2–3 bands. Tip – practice this move before.
- Remove rubber bands and cut off excessive edges of the new sole.
- Sand the edges to achieve a smooth edge around the shoe.